Rain gutters might not be the most glamorous home improvement project, but they’re essential for protecting your property from water damage. Properly installed rain gutters can divert rainwater away from your home’s foundation, preventing issues like erosion, basement flooding, and structural damage. If you’re considering install rain gutters yourself, fear not! With the right tools, materials, and know-how, it’s a manageable DIY task. In this guide, we’ll walk you through the step-by-step process of installing rain gutters like a pro.
Step 1: Gather Your Tools and Materials
Before you begin, make sure you have all the necessary tools and materials on hand. You’ll need:
- Rain gutter sections
- End caps
- Gutter hangers
- Downspouts
- Elbows and connectors
- Screws or nails
- Drill or hammer
- Level
- Measuring tape
- Hacksaw or tin snips
- Sealant
Step 2: Plan Your Gutter System
Start by planning your gutter system. Measure the length of your roofline and determine the best placement for downspouts to ensure proper drainage. It’s essential to slope your gutters slightly downward toward the downspouts to allow water to flow freely.
Step 3: Install Rain Gutter Hangers
Using your measuring tape and level, mark the locations for your gutter hangers along the fascia board. Space them according to the manufacturer’s recommendations, usually around 2-3 feet apart. Attach the gutter hangers to the fascia board using screws or nails, ensuring they’re securely fastened.
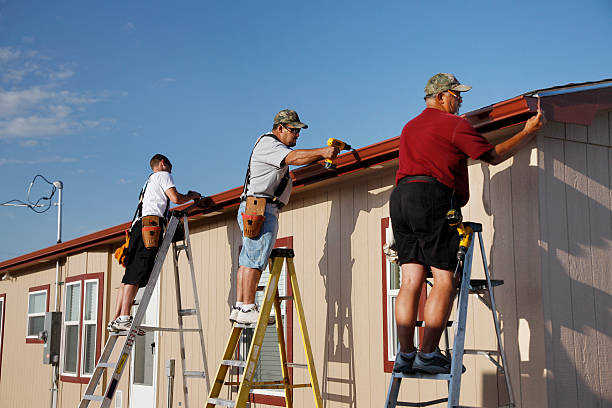
Step 4: Cut and Attach the Gutter Sections
Next, measure and cut the gutter sections to fit the length of your roofline using a hacksaw or tin snips. Be sure to wear safety goggles to protect your eyes from metal shavings. Once cut, attach the gutter sections to the hangers, starting at the highest point of your roofline and working towards the downspouts. Use a level to ensure the gutters are sloped correctly.
Step 5: Install End Caps and Seal Joints
Once the gutter sections are in place, install end caps on both ends to prevent water from escaping. Seal the joints between gutter sections and end caps with a waterproof sealant to prevent leaks.
Step 6: Add Downspouts and Elbows
Attach downspouts to the gutter outlets using elbows and connectors as needed to direct water away from your home’s foundation. Ensure the downspouts are securely fastened to the wall and extend at least a few feet away from the foundation.
Step 7: Test Your Gutters
Once everything is installed, test your gutters by running water through them with a hose. Check for any leaks, proper drainage, and ensure water is flowing freely through the downspouts.
Conclusion:
Congratulations! You’ve successfully installed rain gutters to protect your home from water damage. By following these simple steps and taking the time to do the job right, you can enjoy peace of mind knowing your property is well-equipped to handle even the heaviest rainstorms. Remember to perform regular maintenance, such as cleaning out debris, to keep your gutters functioning properly for years to come.