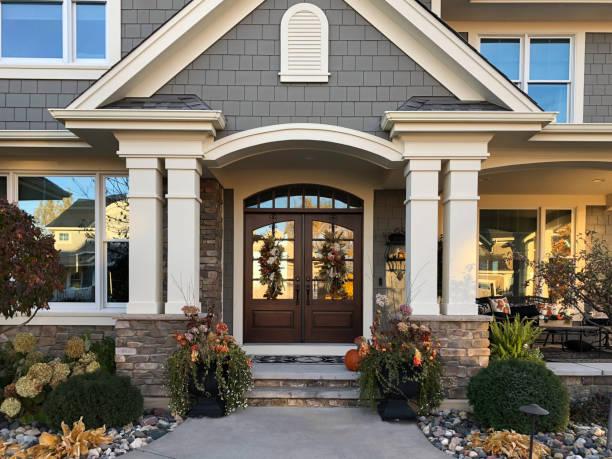
Arch doors add a touch of elegance and sophistication to any interior space. Whether you want to enhance the aesthetic appeal of your home or create a unique focal point, installing arched doors can be a rewarding do-it-yourself (DIY) project. In this blog post, we will guide you through the steps to create and install your own arch doors, transforming your living spaces in a cost-effective and stylish manner.
Materials Needed
Before you start your DIY project, gather the following materials:
- MDF or Plywood: Choose a sturdy and reliable material for the door’s base.
- Jigsaw or Router: Essential tools for cutting the arch shape.
- Sandpaper: For smoothing out rough edges.
- Wood Glue: To secure joints firmly.
- Clamps: To hold the pieces together while the glue dries.
- Paint or Stain: For a finishing touch.
- Door Hardware: Such as hinges and doorknobs.
Step-by-Step Guide
Step 1: Measure and Plan Measure the height and width of the doorway where you intend to install the arch door. Decide on the desired height and curvature of the arch. Create a blueprint to help visualize the final product.
Step 2: Cut the Base Using the measurements from the previous step, cut the MDF or plywood to the required dimensions. Remember to account for the arch’s height and ensure the door fits smoothly within the frame.
Step 3: Create the Arch Use a flexible material like cardboard or hardboard to create a template for the arch. Draw the desired curve on the template and cut it out. Transfer the template to the top of the door and trace the curve.
Step 4: Cut the Arch Shape Using a jigsaw or router, carefully cut along the traced line to create the arch shape. Take your time to ensure precision, as this will impact the door’s final look.
Step 5: Sand and Smooth After cutting, sand the edges and surface of the arch door to achieve a smooth finish. Sanding also helps to prepare the surface for painting or staining.
Step 6: Assemble the Door Apply wood glue to the edges of the arch pieces and secure them together. Use clamps to hold the pieces firmly in place while the glue dries. Ensure everything is aligned correctly.
Step 7: Finishing Touches Now that your arch door is assembled, it’s time to apply the finishing touches. Paint the door in your desired color to match the interior theme or apply a stain to enhance the natural beauty of the wood.
Step 8: Install Door Hardware Once the paint or stain has dried, install the door hardware, including hinges and doorknobs. Ensure that the hardware aligns correctly with the door frame for smooth operation.
Tips for Success
- Measure accurately to avoid any fitting issues during installation.
- Invest in a high-quality jigsaw or router for precise cuts.
- Use clamps to hold pieces together tightly during gluing.
- Sand the door thoroughly for a professional finish.
- Consider using water-resistant materials if the arch door is intended for areas with higher humidity.
Conclusion
Creating and installing arch doors can be a gratifying DIY project that elevates the ambiance of your living spaces. With the right tools, materials, and attention to detail, you can achieve a custom-made arch door that adds a touch of elegance and charm to your home. Embrace your creativity and embark on this journey of crafting your own arch doors, transforming ordinary doorways into captivating architectural features. Happy DIY-ing!
Visits Hardware Concepts for more informations about arched doors Australia.

